Introduction
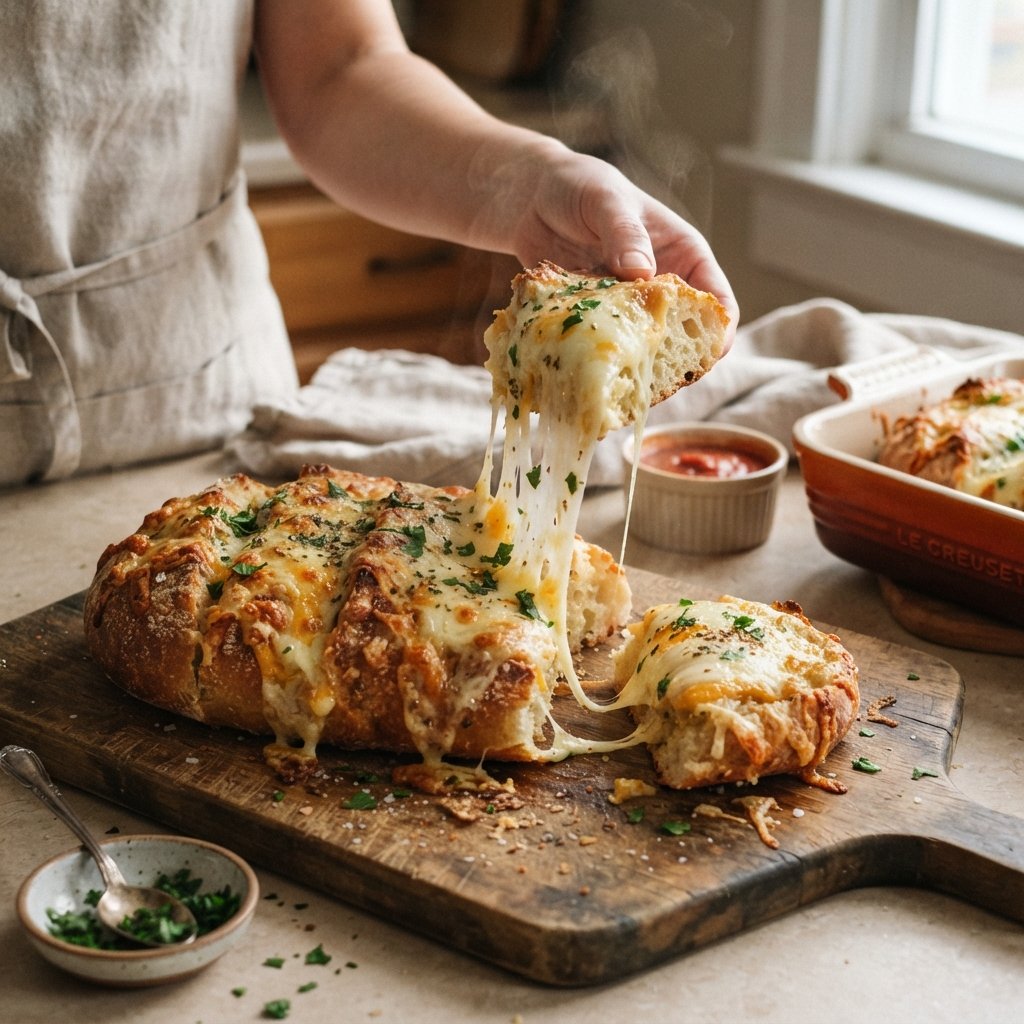
There are few culinary experiences that rival the sheer comfort of a warm, golden slice of cheesy bread. The aroma of baking dough mingling with the savory, salty scent of melting cheese is enough to make anyone’s mouth water. Whether served as a humble side dish to a hearty pasta, a luxurious appetizer at a dinner party, or a midnight snack enjoyed straight from the oven, cheesy bread holds a special place in the hearts of food lovers worldwide. It is the ultimate fusion of texture and flavor: a crispy, caramelized exterior giving way to a soft, pillowy interior, all held together by a gooey, stretchy layer of molten dairy. This guide will take you on a deep dive into the world of cheesy bread, exploring its rich history, the science behind the perfect rise, and how you can craft the ultimate loaf in your own kitchen.
The History
The origins of cheesy bread are as ancient as the practice of baking itself. While the specific combination we know today is a modern staple, its roots can be traced back to ancient civilizations. The Romans enjoyed panis focacius, a flatbread baked in the ashes of a hearth, often topped with olive oil, herbs, and occasionally cheese. As baking techniques evolved through the Middle Ages, bread became a vessel for utilizing leftovers, including hard cheeses that needed to be melted down.
However, the “Cheesy Bread” as we recognize it in Western cuisine is heavily influenced by Italian and Italian-American traditions. The concept of garlic bread—slicing a baguette, slathering it with butter and garlic, and topping it with cheese—became a staple in American restaurants in the mid-20th century. Simultaneously, the global explosion of pizza culture popularized the idea of bread dough acting as a canvas for cheese. From the cheese-stuffed crusts of the 1990s to the artisanal focaccias of today, cheesy bread has evolved from a peasant’s sustenance into a gourmet delicacy.
Ingredients Breakdown
To make exceptional cheesy bread, one must understand the role of each component. It is not merely about mixing items together; it is about chemistry.
The Flour: The Structure
Bread Flour vs. All-Purpose: For the chewiest, most satisfying texture, bread flour is superior. It has a higher protein content (12-14%) compared to all-purpose flour. This higher protein leads to more gluten development, which traps the carbon dioxide produced by the yeast, resulting in a lofty, airy crumb that can support heavy toppings without becoming soggy.
The Leavening: The Rise
Yeast: Active dry yeast or instant yeast is the engine of the bread. Yeast consumes sugars in the dough and releases carbon dioxide gas. This process, known as fermentation, not only makes the bread rise but also develops complex, nutty flavors that cannot be achieved with chemical leaveners like baking powder.
The Fat: The Tenderness
Butter and Oil: Fat coats the gluten strands, shortening them (hence the term “shortening”). This prevents the bread from becoming too tough or rubbery. Butter adds a rich, creamy flavor, while olive oil contributes a fruity depth and helps create a crispier crust.
The Cheese: The Star
Mozzarella: The king of meltability. Low-moisture mozzarella provides the iconic “cheese pull” without releasing too much oil.
Parmesan/Pecorino: These hard, aged cheeses are packed with umami. They don’t melt into a gooey pool but rather crisp up and add a salty, savory punch.
Cheddar or Provolone: Used for sharper flavor profiles. Provolone melts beautifully, while sharp cheddar adds a distinct tang.
Step-by-Step Recipe
Creating the perfect loaf requires patience and attention to detail. Follow this comprehensive method to ensure bakery-quality results.
Phase 1: Activation and Mixing
Begin by “blooming” your yeast. Dissolve the yeast in warm water (around 105°F to 110°F) with a pinch of sugar. If the mixture doesn’t become foamy within 10 minutes, your yeast is dead, and you must start over. In a large mixing bowl, combine your flour and salt. Make a well in the center and pour in the yeast mixture and melted butter. Mix until a shaggy dough forms.
Phase 2: Kneading and Gluten Development
Turn the dough onto a lightly floured surface. Knead vigorously for 8 to 10 minutes. You are looking for the “windowpane test”: stretch a small piece of dough; if it stretches thin enough to let light through without tearing, your gluten is fully developed. If it tears, keep kneading.
Phase 3: The First Rise (Proofing)
Place the dough in a greased bowl, cover it with a damp cloth or plastic wrap, and let it sit in a warm, draft-free area. It needs to double in size, which usually takes 60 to 90 minutes. Do not rush this step; the slow rise allows flavor to develop.
Phase 4: Shaping and Topping
Punch down the dough to release air bubbles. Shape it into a loaf, rounds, or pull-apart knots. Place it on a baking sheet. Brush generously with garlic butter. Now, apply the cheese. For maximum coverage, shred the cheese finely. If using multiple cheeses, put the melting cheese (mozzarella) down first and the flavor cheese (parmesan) on top.
Phase 5: Baking
Bake in a preheated oven at 400°F (200°C). The high heat ensures the bread rises quickly (oven spring) before the crust sets. Bake until the cheese is bubbling and golden brown, and the internal temperature of the bread reaches 190°F.
Tips
- Grate Your Own Cheese: Pre-shredded cheese is coated in anti-caking agents (like potato starch) which prevent it from melting smoothly. Always buy a block and grate it yourself for the best texture.
- Room Temperature Ingredients: Ensure your eggs, milk, and butter are at room temperature before mixing. Cold ingredients can shock the yeast and slow down the rising process.
- The Garlic Butter Brush: Don’t just brush the top. If making pull-apart bread, brush the garlic butter between the layers of dough to ensure every bite is flavorful.
- Prevent Burning: Cheese browns faster than bread bakes. If the cheese is getting too dark before the bread is cooked through, loosely tent a piece of aluminum foil over the top for the last 10 minutes of baking.
- Cooling: Let the bread rest for at least 10 minutes before slicing. Cutting into it too early releases the steam, which can make the interior gummy.
Variations and Customizations
Cheesy bread is a versatile canvas. Once you master the base recipe, the possibilities are endless.
Stuffed Cheesy Bread
Roll the dough out into a rectangle. Spread a layer of ricotta mixed with herbs and shredded mozzarella down the center. Roll the dough up like a cinnamon roll, seal the edges, and bake. When sliced, this reveals a stunning spiral of cheese inside.
Spicy Jalapeño Popper Bread
Incorporate diced jalapeños (fresh or pickled) and cream cheese into the dough or the topping. Top with a blend of cheddar and Monterey Jack for a southwestern twist.
Herb and Onion Focaccia Style
Use a higher hydration dough (wetter). Press dimples into the dough with your fingers before baking. Fill the dimples with olive oil, rosemary, thyme, caramelized onions, and fontina cheese.
Pesto and Sun-Dried Tomato
Replace the garlic butter brush with a thick layer of basil pesto. Top with mozzarella and chopped sun-dried tomatoes for a vibrant, Italian-inspired flavor profile.
Health Considerations and Nutritional Value
While undeniably delicious, cheesy bread is an energy-dense food. Understanding its nutritional profile helps in enjoying it mindfully.
Caloric Density: A typical slice of homemade cheesy bread can range from 200 to 350 calories, depending on the amount of butter and cheese used. The primary sources of calories are carbohydrates from the flour and fats from the cheese and butter.
Macronutrients:
- Carbohydrates: Essential for energy, but refined white flour can cause blood sugar spikes. Using whole wheat flour can increase fiber content.
- Protein: Cheese and flour both contribute protein. A slice may offer 8-12 grams of protein, making it more satiating than plain bread.
- Fats: Cheese provides saturated fats. While necessary in moderation, those watching cholesterol should opt for part-skim mozzarella.
Sodium Content: Cheese and added salt make this a high-sodium dish. Individuals with hypertension should enjoy this in moderation or seek low-sodium cheese alternatives.
Ingredients
- For the Dough:
- 3 ½ cups (440g) Bread Flour (or All-Purpose)
- 1 packet (2 ¼ tsp) Instant Yeast
- 1 ¼ cups Warm Water (110°F)
- 2 tbsp Sugar
- 1 ½ tsp Salt
- 3 tbsp Unsalted Butter, melted
- For the Topping:
- 4 tbsp Unsalted Butter, softened
- 3 cloves Garlic, minced
- 1 tbsp Fresh Parsley, chopped
- 2 cups Mozzarella Cheese, shredded (Low-moisture)
- ½ cup Parmesan Cheese, grated
Directions
- Activate Yeast: In a small bowl, combine warm water, sugar, and yeast. Let sit for 5-10 minutes until foamy.
- Make Dough: In a large bowl (or stand mixer), combine flour and salt. Add the yeast mixture and melted butter. Mix until a dough forms.
- Knead: Knead on a floured surface for 8 minutes until smooth and elastic. (If using a mixer, use the dough hook for 5-6 minutes).
- First Rise: Place dough in a greased bowl, cover, and let rise in a warm place for 1 hour or until doubled in size.
- Prepare Topping: Mix the softened butter, minced garlic, and parsley in a small bowl.
- Shape: Punch down the dough. Shape into a large oval loaf or cut into 12 individual rolls. Place on a parchment-lined baking sheet.
- Second Rise: Cover and let rise for another 30 minutes.
- Top: Brush the dough generously with the garlic butter mixture. Sprinkle evenly with mozzarella and parmesan cheeses.
- Bake: Preheat oven to 400°F (200°C). Bake for 15-20 minutes until the cheese is bubbly and golden, and the bread sounds hollow when tapped.
- Serve: Let cool slightly, garnish with extra parsley if desired, and serve warm.
FAQ
Q: Why is my bread dense and not fluffy?
A: This is usually caused by dead yeast (water too hot), insufficient kneading (gluten didn’t develop), or rushing the rising time. Ensure your water is warm, not hot, and give the dough enough time to proof.
Q: Can I make this ahead of time?
A: Yes! You can prepare the dough and let it do its first rise in the refrigerator overnight (slow rise). Shape and top the bread the next day, let it come to room temperature for 30 minutes, and then bake.
Q: My cheese separated and became oily. What happened?
A: This happens when cheese is overheated or if low-quality cheese with additives is used. Stick to high-quality, block cheese that you grate yourself, and avoid baking at temperatures higher than 425°F.
Q: Can I freeze cheesy bread?
A: It is best to freeze the dough before baking. Freeze the shaped, untopped dough. When ready to eat, thaw, top with cheese, and bake. Baked cheesy bread can be frozen, but the texture of the cheese may suffer upon reheating.
Summary
Cheesy bread is a timeless comfort food that combines the science of perfect gluten development with the indulgence of melted dairy. By mastering the balance of rising, kneading, and baking, you can create a golden, aromatic loaf that satisfies every craving.