Introduction
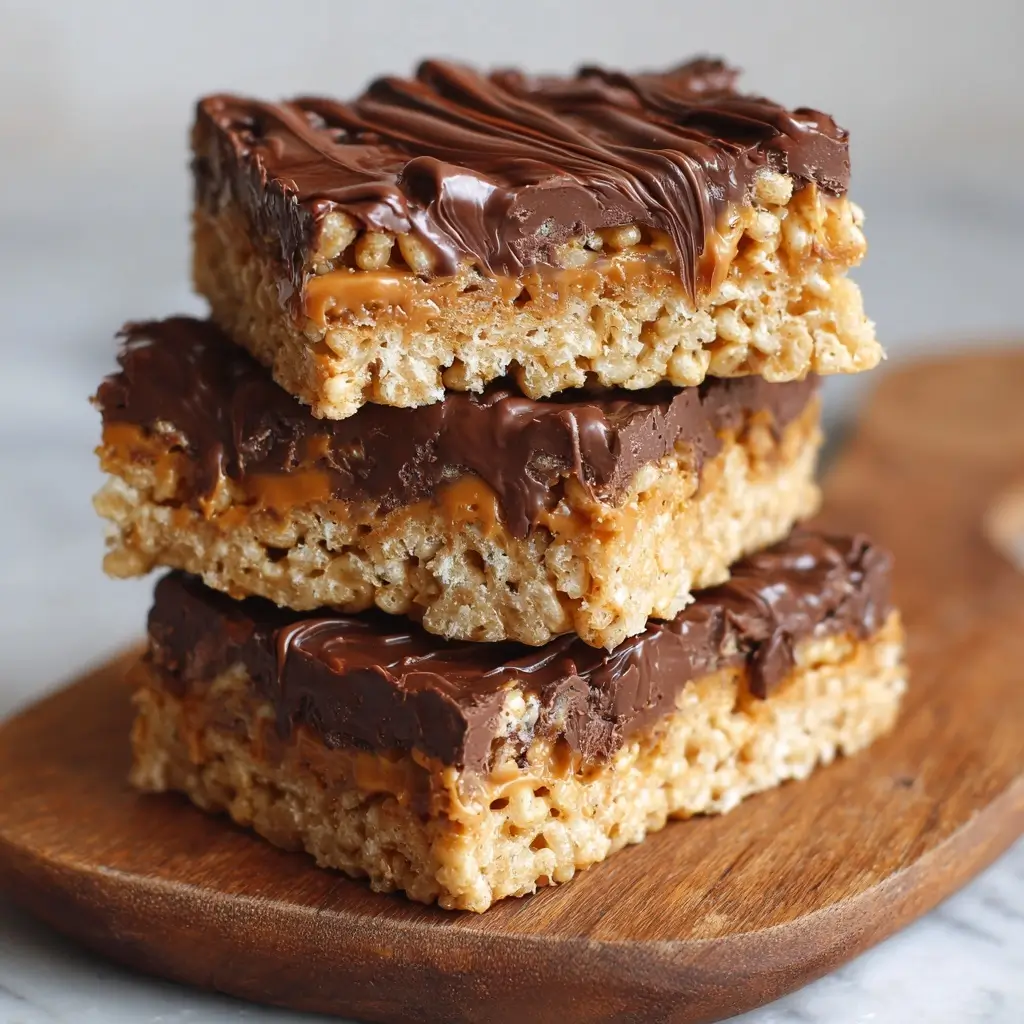
Peanut Butter Chocolate Rice Krispie Treats are a decadent twist on the classic childhood favorite, combining the nostalgic crunch of Rice Krispies with the rich, creamy flavors of peanut butter and chocolate. These treats are perfect for parties, potlucks, after-school snacks, or even as homemade gifts during the holiday season. With their chewy texture, irresistible sweetness, and satisfying nuttiness, they appeal to kids and adults alike. Whether you’re looking for a quick dessert that requires no baking or a fun project to make with your children, these indulgent squares are sure to become a staple in your recipe collection. In this comprehensive guide, we’ll explore everything from the history of Rice Krispie treats to detailed instructions, ingredient breakdowns, customization options, health considerations, and frequently asked questions—so you can master the art of making the ultimate Peanut Butter Chocolate Rice Krispie Treats every single time.
The History
The origin of Rice Krispie Treats dates back to the 1930s when Kellogg’s sought creative ways to promote their popular breakfast cereal, Rice Krispies. The original recipe was developed by Kellogg’s home economists, Malitta Jensen and Mildred Day, who combined marshmallows, butter, and cereal into a simple, no-bake confection. It was first introduced as a bake sale idea through promotional campaigns and quickly gained popularity due to its ease of preparation and kid-friendly appeal. By the 1940s, the recipe had been printed on the back of Kellogg’s Rice Krispies boxes and became a household staple across America.
Over the decades, bakers began experimenting with variations—adding food coloring, different cereals, mix-ins like sprinkles or candies, and flavor-infused marshmallows. The introduction of peanut butter into the traditional formula brought a new dimension of richness and protein, making the treats more satiating and flavorful. Similarly, the fusion with chocolate—whether in the form of cocoa powder, chocolate chips, or a chocolate drizzle—elevated the dessert into a gourmet-level snack. Today, Peanut Butter Chocolate Rice Krispie Treats represent a modern evolution of the classic, blending comfort, convenience, and indulgence in one delightful bite-sized package.
Ingredients Breakdown
To create the perfect batch of Peanut Butter Chocolate Rice Krispie Treats, it’s essential to understand each component and how it contributes to the final texture and flavor profile:
- Rice Krispies Cereal (6 cups): The foundation of the treat. Crispy, airy, and neutral in taste, Rice Krispies provide structure while absorbing the sticky marshmallow mixture. Use plain, unsweetened cereal to avoid overpowering sweetness.
- Large Marshmallows (10 oz or about 40 regular marshmallows): These melt into a gooey binder that holds the cereal together. Fresh, plump marshmallows ensure maximum fluffiness and adhesion. Avoid mini marshmallows unless adjusting quantities, as they melt faster and can lead to denser treats.
- Butter (1/2 cup or 1 stick): Adds moisture, richness, and helps evenly distribute the melted marshmallows. Unsalted butter is preferred to control salt levels, but salted butter works if you reduce added salt.
- Peanut Butter (1 cup, smooth): Introduces creaminess, depth, and a savory-sweet contrast. Opt for natural peanut butter without added sugar or oils for a cleaner taste, or use processed brands like Jif or Skippy for a sweeter, smoother blend. Crunchy peanut butter can be used for added texture.
- Semi-Sweet Chocolate Chips (1 cup): Melted into the mixture or swirled on top, chocolate enhances the indulgence. You can substitute dark, milk, or white chocolate depending on preference.
- Vanilla Extract (1 tsp): Enhances overall flavor complexity and rounds out the sweetness.
- Salt (1/4 tsp, optional): Balances the sweetness and highlights the nutty and chocolate notes.
- Optional Add-Ins: Mini chocolate chips, chopped peanuts, pretzel pieces, crushed graham crackers, or even a pinch of cinnamon or cayenne for heat.
Each ingredient plays a crucial role: the marshmallow-butter base acts as the glue, the cereal provides crunch, peanut butter adds richness, and chocolate delivers decadence. Using high-quality ingredients ensures a superior result.
Step-by-Step Recipe
- Prepare Your Pan: Line a 9×13-inch baking pan with parchment paper or lightly grease it with butter or non-stick spray. This prevents sticking and makes removal easier.
- Melt the Base: In a large saucepan over low heat, melt 1/2 cup (1 stick) of butter. Once fully melted, add the 10 oz of marshmallows. Stir continuously with a silicone spatula or wooden spoon until the mixture is completely smooth and glossy, about 4–5 minutes. Do not rush this step—high heat can burn the marshmallows, resulting in a grainy texture.
- Incorporate Peanut Butter: Remove the saucepan from heat. Stir in 1 cup of smooth peanut butter until fully blended. The mixture should become thick, creamy, and uniformly tan. Add 1 teaspoon of vanilla extract and 1/4 teaspoon of salt (if using), stirring to combine.
- Add Chocolate: Fold in 1/2 cup of semi-sweet chocolate chips into the warm marshmallow-peanut butter mixture. The residual heat will slightly melt them, creating swirls of chocolate throughout. Reserve the remaining 1/2 cup for topping or layering.
- Mix in Cereal: Gradually add 6 cups of Rice Krispies cereal, gently folding with a spatula until evenly coated. Be careful not to crush the cereal—use a light hand to maintain crunch. Ensure every piece is covered with the sticky mixture for uniform binding.
- Transfer to Pan: Pour the mixture into the prepared pan. Use the spatula or greased hands to press it down evenly. Work quickly before the mixture begins to set.
- Add Toppings: Sprinkle the reserved 1/2 cup of chocolate chips over the surface. For extra flair, drizzle with melted peanut butter or chocolate, or press in chopped peanuts or pretzels.
- Cool and Set: Let the treats sit at room temperature for at least 1–2 hours to firm up. For faster setting, refrigerate for 30–45 minutes.
- Cut Into Squares: Lift the slab using the parchment paper edges. Place on a cutting board and slice into 12–16 even squares using a sharp knife. Wipe the knife between cuts for clean edges.
- Serve or Store: Enjoy immediately or store in an airtight container for later. These treats improve slightly in texture after resting for a few hours, allowing flavors to meld.
Tips
- Use Low Heat: Always melt the butter and marshmallows over low heat to prevent scorching. High heat causes the sugars to caramelize too quickly, leading to a brittle, unpleasant texture.
- Grease Tools: Coat your spatula, spoon, and hands with butter or cooking spray before mixing and pressing. This minimizes sticking and makes cleanup easier.
- Don’t Overmix: Stir just until the cereal is coated. Overmixing breaks down the Rice Krispies, resulting in a dense, mushy treat.
- Work Quickly: The marshmallow mixture sets fast. Have your pan ready and move efficiently once the cereal is added.
- Customize Texture: For chewier treats, slightly under-melt the marshmallows. For crispier treats, let the mixture cool a bit before pressing into the pan.
- Double Boiler Alternative: If you’re concerned about burning, use a double boiler (a heatproof bowl over simmering water) to melt the marshmallow base.
- Check Freshness: Stale marshmallows won’t melt properly. If they’re dry or cracked, replace them with fresh ones.
- Storage Tip: Layer treats between parchment paper in an airtight container to prevent sticking. They keep well at room temperature for up to 5 days.
Variations and Customizations
The beauty of Peanut Butter Chocolate Rice Krispie Treats lies in their versatility. Here are some creative twists to suit different tastes and occasions:
- Nut-Free Version: Replace peanut butter with sunflower seed butter, soy nut butter, or a safe alternative for those with allergies. Label clearly if serving others.
- Chocolate Lover’s Edition: Use chocolate Rice Krispies cereal, add cocoa powder (2 tbsp) to the melted butter mixture, or layer melted dark chocolate on the bottom of the pan before adding the mixture.
- Reese’s Style: Mix in mini Reese’s cups or top each square with a small cup before cutting.
- Cookies and Cream: Add crushed Oreos or cream-filled sandwich cookies for a cookie twist.
- Trail Mix Inspired: Stir in raisins, dried cranberries, banana chips, and chopped almonds for a healthier, energy-bar-like version.
- Sea Salt & Dark Chocolate: Finish with a sprinkle of flaky sea salt over melted dark chocolate drizzle for a gourmet touch.
- Pretzel Crunch: Add 1 cup of broken pretzel pieces for a sweet-and-salty crunch.
- S’mores Style: Add graham cracker crumbs to the cereal and top with mini marshmallows toasted under the broiler.
- Holiday Themes: Use colored cereals or add festive sprinkles, red-and-green M&Ms, or edible glitter for seasonal celebrations.
- Protein Boost: Mix in unflavored rice protein puffs or a scoop of powdered peanut butter for added nutrition.
- Gluten-Free Option: Ensure your Rice Krispies are certified gluten-free (such as those made by Schär or Nature’s Path), as traditional Kellogg’s versions may contain barley malt.
- Vegan Version: Use vegan marshmallows (like Dandies), plant-based butter, and dairy-free chocolate chips to make the recipe entirely animal-product-free.
Health Considerations and Nutritional Value
While Peanut Butter Chocolate Rice Krispie Treats are undeniably delicious, it’s important to enjoy them in moderation due to their high sugar and calorie content. However, they can be adapted to offer better nutritional balance:
Nutritional Breakdown (per serving, based on 12 servings):
- Calories: ~280–320 kcal
- Total Fat: 14–18g (mostly from peanut butter and butter)
- Saturated Fat: 5–7g
- Carbohydrates: 38–42g
- Sugars: 20–25g (primarily from marshmallows and chocolate)
- Protein: 5–7g (from peanut butter and cereal)
- Fiber: 1–2g
- Sodium: 150–200mg
Health Notes:
- High Sugar Content: Traditional recipes rely heavily on marshmallows and chocolate, both high in added sugars. Consider reducing marshmallows slightly or using low-sugar alternatives if monitoring intake.
- Healthy Fats: Peanut butter provides monounsaturated and polyunsaturated fats, which support heart health when consumed in balance.
- Protein Source: Peanut butter boosts protein, making these treats more filling than standard sugary snacks—ideal for an occasional energy boost.
- Allergens: Contains peanuts, milk (in chocolate and butter), and potentially gluten. Always label when sharing with others.
- Dental Health: Sticky, sweet treats can contribute to tooth decay. Encourage rinsing or brushing after eating.
- Portion Control: Cut into smaller squares to satisfy cravings without overindulging. One square is often enough for a sweet fix.
- Better Binds: Some studies suggest that combining fats and proteins with carbohydrates slows sugar absorption, preventing rapid blood sugar spikes—making this combo slightly better than pure candy bars.
Ingredients
- 6 cups Rice Krispies cereal (plain)
- 10 oz (about 40) large marshmallows
- 1/2 cup (1 stick) unsalted butter
- 1 cup smooth peanut butter (natural or conventional)
- 1 cup semi-sweet chocolate chips (divided)
- 1 teaspoon vanilla extract
- 1/4 teaspoon salt (optional)
Directions
- Line a 9×13-inch baking dish with parchment paper or grease thoroughly.
- In a large saucepan over low heat, melt the butter. Add marshmallows and stir until completely smooth.
- Remove from heat. Stir in peanut butter, vanilla, and salt until fully combined.
- Fold in 1/2 cup of chocolate chips until melted slightly by the heat.
- Gradually mix in Rice Krispies until evenly coated.
- Pour mixture into the prepared pan and press down evenly with a greased spatula or hands.
- Sprinkle remaining 1/2 cup chocolate chips on top.
- Let cool at room temperature for 1–2 hours or refrigerate for 30–45 minutes.
- Cut into squares and serve.
FAQ
Can I use crunchy peanut butter?
Yes! Crunchy peanut butter adds a pleasant texture and nutty bits. Just ensure it’s well stirred before adding.
Why are my treats too hard?
This usually happens from overheating the marshmallows or using stale cereal. Always use low heat and fresh ingredients.
Can I make them ahead of time?
Absolutely. They keep well in an airtight container at room temperature for up to 5 days or in the fridge for up to 1 week.
Can I freeze Peanut Butter Chocolate Rice Krispie Treats?
Yes. Wrap individually or store in layers with parchment paper in a freezer-safe container. Freeze for up to 3 months. Thaw at room temperature for 15–20 minutes before serving.
How do I prevent them from being too sticky?
Grease your tools and hands well. Also, don’t add too many marshmallows—stick to the recommended amount.
Can I use marshmallow fluff instead?
Yes. Substitute 10 oz (about 3 3/4 cups) of marshmallow fluff for the marshmallows. Melt with butter or use as-is for a quicker method, though texture may be slightly denser.
Are they gluten-free?
Only if you use certified gluten-free Rice Krispies and check all other ingredients (especially chocolate and peanut butter labels).
Can I bake them?
No. These are no-bake treats. Baking will cause the cereal to dry out and the marshmallows to over-expand or burn.
What can I use instead of chocolate chips?
Chopped chocolate bars, chocolate chunks, or even a homemade chocolate ganache drizzle work beautifully.
Can kids help make these?
Yes! This is a fantastic family-friendly recipe. Kids can measure, pour, and mix (with adult supervision near the stove).
Summary
Peanut Butter Chocolate Rice Krispie Treats combine the crispy comfort of Rice Krispies with the rich, creamy flavors of peanut butter and chocolate for an irresistible no-bake dessert that’s easy to make and endlessly customizable.
Perfect for gatherings, snacks, or sweet cravings, these treats deliver nostalgia and indulgence in every bite—just be sure to cut them before they set too firm!