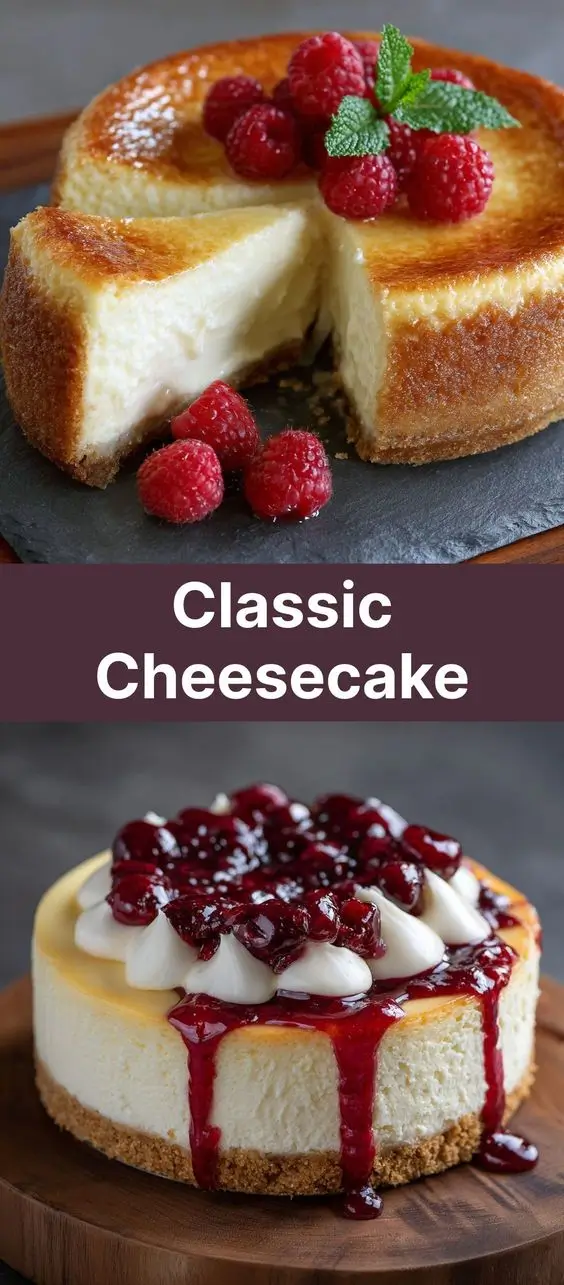
Classic Cheesecake: A Timeless Dessert Delight
The Classic Cheesecake is a dessert that transcends generations—a creamy, rich, and indulgent treat that has graced dinner tables, holiday feasts, and special occasions for over a century. Its velvety texture, balanced sweetness, and buttery graham cracker crust make it a beloved favorite across the globe. Whether served plain, topped with fruit compote, or drizzled with chocolate, the classic cheesecake remains a symbol of culinary elegance and comfort.
The History of Cheesecake
The origins of cheesecake stretch back to ancient times—long before modern refrigeration or electric mixers. The earliest known version was created by the Greeks over 4,000 years ago, who made a simple cake using fresh cheese, honey, and flour, often baked on hot stones. It was considered nutritious and even served to athletes during the first Olympic Games in 776 BCE as a source of energy.
As the Roman Empire expanded, they adopted and adapted the Greek recipe, adding crushed cheese and eggs to create a denser, more custard-like confection. This early version was documented in one of the oldest known cookbooks, Apicius, written in the 1st century AD.
Cheesecake evolved throughout Europe during the Middle Ages, with regional variations emerging in Italy (known as torta di formaggio), Germany (Käsekuchen), and France (gâteau au fromage). Each culture used locally available cheeses like ricotta, quark, or farmer’s cheese, resulting in distinct textures and flavors.
The modern American-style cheesecake, characterized by its dense, smooth texture and use of cream cheese, emerged in the late 19th century. The invention of Philadelphia-brand cream cheese in 1872 by dairyman William Lawrence revolutionized cheesecake making. Though not originally from Philadelphia, the brand became synonymous with high-quality cream cheese and inspired the name “New York Cheesecake.”
By the early 20th century, New York City had become the epicenter of American cheesecake culture, with delis and Jewish bakeries perfecting the recipe. Immigrant bakers introduced techniques that emphasized richness, smoothness, and a tall, firm structure. Today, the classic New York cheesecake stands as the gold standard of cheesecakes worldwide.
Ingredients Breakdown: What Makes a Classic Cheesecake Special?
The magic of a perfect classic cheesecake lies in its simplicity and quality of ingredients. Every component plays a vital role in creating the signature creamy texture, balanced flavor, and crisp base.
- Cream Cheese: The star of the show. Full-fat brick-style cream cheese (like Philadelphia) ensures a rich, smooth consistency. Low-fat versions can result in a grainy or watery texture.
- Granulated Sugar: Provides sweetness and helps stabilize the egg foam during mixing. It also contributes to the slight caramelization on the surface during baking.
- Eggs: Act as a binder and leavening agent. They give structure and help create the custard-like texture. Adding them one at a time prevents curdling and ensures even incorporation.
- Sour Cream: Adds tanginess, moisture, and silkiness. It also helps prevent cracking by softening the protein structure.
- Vanilla Extract: Enhances flavor with warm, aromatic notes. Pure vanilla extract is preferred over imitation for depth of flavor.
- Lemon Zest and Juice: A small amount brightens the richness and cuts through the fat, balancing the overall taste.
- Graham Cracker Crumbs: Form the base of the crust, offering a sweet, slightly spiced crunch that complements the creamy filling.
- Butter: Binds the crust together and creates a golden, crisp foundation when baked.
- Salt: A pinch enhances all the other flavors and prevents the dessert from tasting flat.
Step-by-Step Recipe for Classic Cheesecake
Ingredients
For the Crust:
- 1 ½ cups (150g) graham cracker crumbs (about 10 full sheets)
- ¼ cup (50g) granulated sugar
- 6 tablespoons (85g) unsalted butter, melted
- Pinch of salt
For the Filling:
- 4 (8-ounce) packages (900g total) full-fat cream cheese, softened to room temperature
- 1 ½ cups (300g) granulated sugar
- 1 cup (240g) full-fat sour cream
- 2 teaspoons pure vanilla extract
- 1 tablespoon lemon zest (from about 1 large lemon)
- 2 tablespoons fresh lemon juice
- 4 large eggs, at room temperature
- 2 egg yolks, at room temperature
- ¼ teaspoon salt
Equipment Needed
- 9-inch springform pan
- Mixing bowls (various sizes)
- Electric hand mixer or stand mixer
- Spatula
- Fine grater (for lemon zest)
- Measuring cups and spoons
- Parchment paper (optional, for easier removal)
- Aluminum foil (if using water bath)
- Roasting pan (larger than springform, if using water bath)
Directions
- Preheat Oven & Prepare Pan: Preheat your oven to 325°F (160°C). Grease the sides and bottom of a 9-inch springform pan. For easier release, line the bottom with a round of parchment paper.
- Make the Crust: In a medium bowl, combine graham cracker crumbs, sugar, melted butter, and salt. Mix until the crumbs are evenly moistened and resemble wet sand. Press the mixture firmly into the bottom of the prepared pan, using the back of a spoon or a flat-bottomed glass to create an even layer. Bake for 10 minutes, then remove and let cool while you prepare the filling. Keep the oven on.
- Softening Cream Cheese: Ensure the cream cheese is fully softened—this is crucial. Cold cream cheese leads to lumps and uneven batter. Let it sit at room temperature for at least 1–2 hours before starting.
- Beat Cream Cheese and Sugar: In a large bowl, beat the cream cheese on medium speed until smooth and creamy, about 2 minutes. Gradually add sugar and continue beating until well combined and fluffy, another 2–3 minutes. Scrape down the sides of the bowl as needed.
- Add Sour Cream, Vanilla, Lemon: Add sour cream, vanilla extract, lemon zest, and lemon juice. Mix on low until incorporated. Again, scrape the bowl thoroughly.
- Incorporate Eggs One at a Time: Add eggs one at a time, mixing on low after each addition just until the yolk disappears. Overmixing introduces too much air, which can cause cracking. After adding all eggs, add the two extra yolks and mix gently until smooth. Finally, add salt and mix briefly.
- Fill the Pan: Pour the filling over the cooled crust. Tap the pan gently on the counter a few times to release any trapped air bubbles. Use a spatula to smooth the top.
- Bake Using a Water Bath (Recommended): Wrap the outside of the springform pan tightly with 2 layers of heavy-duty aluminum foil to prevent water from seeping in. Place the pan inside a larger roasting pan. Carefully pour hot water into the outer pan until it reaches halfway up the sides of the springform (about 1 inch deep). This steam-rich environment prevents cracks and ensures even, gentle cooking.
- Bake: Place in the preheated oven and bake for 60–75 minutes. The cheesecake is done when the edges are set but the center still jiggles slightly like Jell-O when gently shaken. Do not overbake.
- Cool Gradually: Turn off the oven, crack the door open with a wooden spoon, and let the cheesecake cool inside for 1 hour. This slow cooling prevents sudden temperature changes that lead to cracks.
- Chill Overnight: Remove from the water bath, take off the foil, and let cool completely at room temperature. Then cover loosely with plastic wrap and refrigerate for at least 8 hours, preferably 12–24 hours. This allows the texture to fully set and flavors to mature.
- Unmold and Serve: Run a thin knife around the edge of the cheesecake before releasing the springform clasp. Transfer to a serving plate if desired. Slice with a hot, clean knife for clean cuts.
Tips for the Perfect Classic Cheesecake
- Room Temperature Ingredients Are Key: Cold ingredients don’t blend smoothly and can lead to lumps or overmixing.
- Avoid Overmixing: Once you add the eggs, mix only until just combined. Overbeating incorporates air, which expands during baking and collapses upon cooling, causing cracks.
- Use a Water Bath: While optional, it’s highly recommended for a silky, crack-free texture. If skipping, place a pan of water on the rack below to add humidity.
- Don’t Open the Oven Door: Sudden drops in temperature can cause the surface to crack. Resist the urge to peek!
- Cool Slowly: Letting the cheesecake cool gradually in the turned-off oven prevents thermal shock.
- Chill Thoroughly: Never rush the chilling process. A properly chilled cheesecake slices cleanly and tastes better.
- Wipe the Knife Between Cuts: Dip a sharp knife in hot water and dry it before each slice for neat, professional-looking pieces.
- Check Your Springform Pan: Make sure the latch is secure before wrapping with foil and placing in the water bath.
Variations and Customizations
While the classic version is timeless, there are countless ways to personalize your cheesecake:
- Fruit Swirls: Add raspberry, blueberry, or strawberry puree in swirls before baking. Or top with fresh fruit compote after chilling.
- Chocolate Cheesecake: Melt 4 oz of semi-sweet chocolate and blend into the filling before adding eggs.
- Oreo Cheesecake: Replace the graham cracker crust with crushed Oreos mixed with butter. Optionally, fold mini Oreo pieces into the batter.
- Crust Alternatives: Try digestive biscuits, shortbread cookies, ginger snaps, or even pretzel crumbs for a salty-sweet twist.
- Flavor Infusions: Add almond extract, orange zest, espresso powder, or cinnamon to the batter for unique flavor profiles.
- Gluten-Free Option: Use gluten-free graham crackers or certified gluten-free cookies for the crust.
- Mini Cheesecakes: Bake in muffin tins for individual servings—adjust baking time to 20–25 minutes.
- Crustless Cheesecake: Pour filling directly into a greased pan for a lower-carb version (may be more fragile).
- Dairy-Free Version: Use plant-based cream cheese and sour cream alternatives (results may vary in texture).
- Smoked Cheesecake: For a gourmet twist, cold-smoke the finished cheesecake using a smoking gun for 5–10 minutes.
Health Considerations and Nutritional Value
Classic cheesecake is undeniably rich and should be enjoyed in moderation as part of a balanced diet. Here’s a general nutritional breakdown per slice (based on 12 servings):
- Calories: ~450–500 kcal
- Total Fat: ~30–35g (mostly saturated from cream cheese and butter)
- Carbohydrates: ~35–40g (primarily from sugar and graham crackers)
- Protein: ~8–10g (from eggs and dairy)
- Sugar: ~30g (can be reduced slightly, but affects texture)
- Sodium: ~300–400mg
Health Notes:
- High in saturated fat and sugar, so those managing cholesterol, diabetes, or weight should consume sparingly.
- Contains dairy and eggs—common allergens. Vegan or lactose-intolerant individuals should seek alternative recipes.
- Provides calcium and some vitamin A from dairy ingredients.
- Low in fiber and essential micronutrients—best paired with fresh fruit for added nutrition.
- Portion control is key; slicing into 12 pieces instead of 8 makes servings more manageable.
Frequently Asked Questions (FAQ)
Q: Why did my cheesecake crack?
A: Cracking is usually caused by overbaking, rapid cooling, overmixing, or temperature shocks. Always use a water bath, avoid opening the oven, and cool slowly.
Q: Can I make cheesecake without a springform pan?
A: It’s possible but challenging. Use a deep pie dish or cake pan lined with parchment, but unmolding will be difficult. A springform is ideal.
Q: How long does cheesecake last in the fridge?
A: Properly stored (covered), it lasts 5–7 days. For longer storage, freeze for up to 2–3 months.
Q: Can I freeze cheesecake?
A: Yes! Wrap tightly in plastic and foil. Thaw overnight in the fridge before serving.
Q: Can I use low-fat cream cheese?
A: Not recommended. Low-fat versions contain more water and stabilizers, leading to a softer, grainier texture.
Q: Why do you add sour cream?
A: It adds moisture, tanginess, and helps create a smoother, silkier texture while reducing the chance of cracking.
Q: Can I bake two cheesecakes at once?
A: Yes, if your oven has enough space and consistent heat. Rotate pans halfway through for even baking.
Q: How do I know when it’s done?
A: The edges should be set and slightly puffed, but the center (about the size of a lemon) should still jiggle when gently shaken.
Q: Can I add fruit to the batter?
A: Fresh fruit adds excess moisture and may sink. Use fruit purees or jams in swirls instead.
Q: Can I skip the water bath?
A: You can, but results may vary. Expect a higher risk of cracks and a denser texture.
Summary
The Classic Cheesecake is a masterpiece of balance—creamy yet firm, rich yet refreshing, simple yet elegant. With its buttery crust, velvety filling, and timeless appeal, it continues to captivate dessert lovers around the world.
Master the technique, respect the ingredients, and you’ll have a show-stopping dessert that’s perfect for celebrations or quiet indulgence—one slice of history at a time.