Mini Funfetti Cheesecakes in Jar
Mini Funfetti Cheesecakes in a Jar
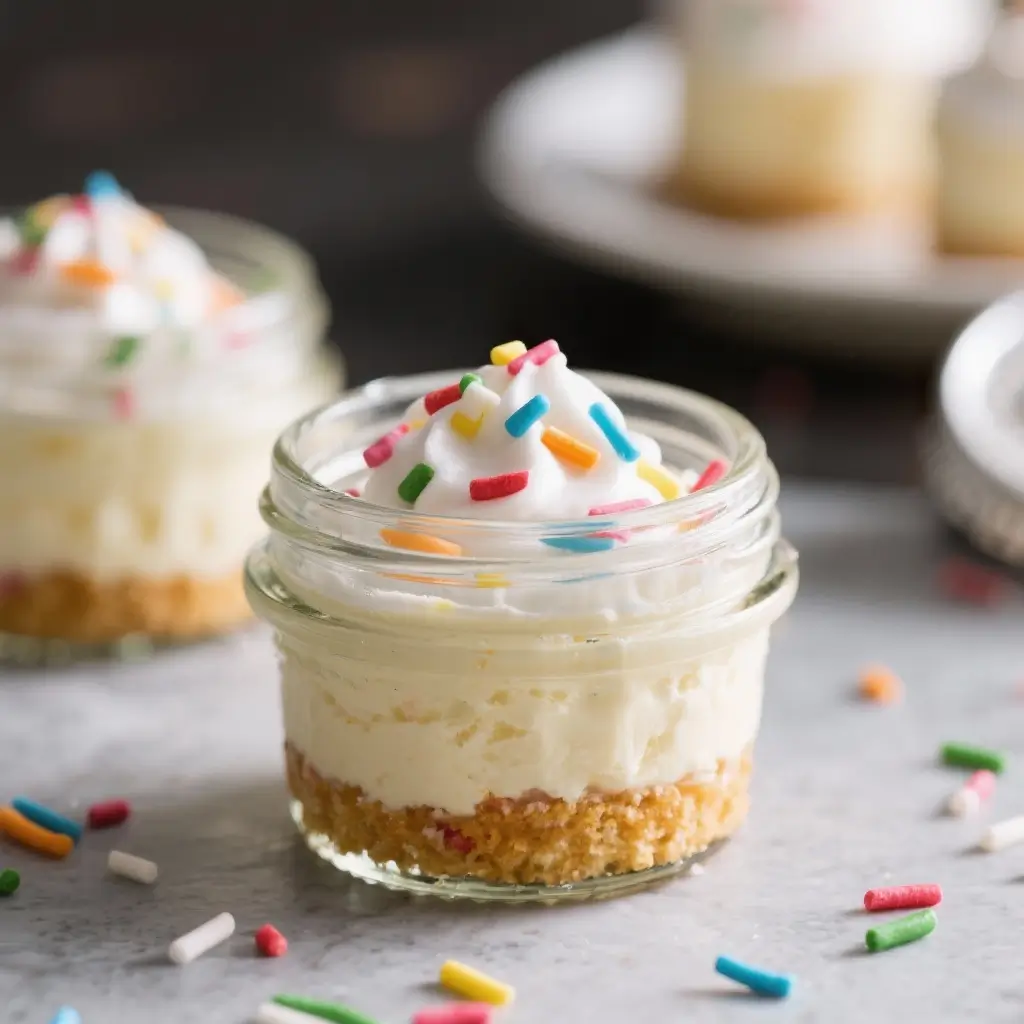
Indulge your sweet tooth with these adorable and delicious Mini Funfetti Cheesecakes in a Jar! Perfect for parties, baby showers, school treats, or just a fun dessert night at home, these no-bake delights combine the creamy richness of classic cheesecake with the playful charm of colorful sprinkles. Layered in portable mason jars, they’re not only easy to make but also a feast for the eyes. Whether you’re hosting a birthday party or simply craving something sweet and whimsical, these mini cheesecakes are sure to bring joy to everyone who takes a spoonful.
The History of Cheesecake and Funfetti
Cheesecake has a surprisingly ancient origin—dating back to the Greeks around 2000 BCE, who served it to athletes during the first Olympic Games as an energy-boosting food. Over centuries, the recipe evolved through Roman, European, and eventually American kitchens, culminating in the beloved New York-style cheesecake we know today. The addition of cream cheese in the early 20th century by American manufacturers like Philadelphia revolutionized the texture, making it smoother and richer.
On the other hand, “Funfetti” is a more modern invention. Introduced by Pillsbury in the 1980s, Funfetti cake mix was designed to add festive color and childlike excitement to birthdays and celebrations. The blend of vanilla cake batter with tiny rainbow sprinkles captured hearts instantly. Combining this concept with cheesecake creates a delightful fusion of tradition and celebration—bringing together the elegance of cheesecake with the joyful spirit of a birthday party. That’s exactly what makes Mini Funfetti Cheesecakes in a Jar such a hit across generations.
Ingredients Breakdown
Every great dessert starts with quality ingredients, and these mini cheesecakes are no exception. Here’s a detailed look at what goes into each jar and why:
- Cream Cheese (full-fat): The star of the show. Full-fat cream cheese ensures a rich, velvety texture that holds its shape beautifully when chilled. Avoid low-fat versions—they can make the filling too runny.
- Granulated Sugar: Adds sweetness and helps stabilize the cream cheese mixture. Powdered sugar can be used for a smoother consistency, but granulated works perfectly here.
- Vanilla Extract: Enhances flavor depth and gives that classic vanilla warmth. Pure extract is preferred over imitation for superior taste.
- Heavy Whipping Cream: Whipped into soft peaks and folded into the mixture, it adds lightness and fluffiness, preventing the cheesecake from being overly dense.
- Funfetti Sprinkles: Not just for looks! These rainbow jimmies or confetti-style sprinkles add a subtle crunch and a burst of color. Look for non-pareils or baker’s sprinkles that won’t bleed color into the mixture.
- Graham Cracker Crumbs: Forms the buttery base layer. You can use store-bought crumbs or crush full sheets yourself for fresher flavor.
- Unsalted Butter (melted): Binds the crust together and adds richness. Unsalted allows you to control the salt level.
- Milk (optional): A splash can be added if the crust seems too dry, though melted butter usually provides enough moisture.
- Whipped Topping (e.g., Cool Whip or homemade whipped cream): Used as a final layer or garnish for extra indulgence.
- Additional Sprinkles (for topping): For that picture-perfect finish!
Each ingredient plays a crucial role in achieving the perfect balance of flavor, texture, and visual appeal.
Step-by-Step Recipe: How to Make Mini Funfetti Cheesecakes in a Jar
- Prepare Your Jars: Choose clean, small glass jars—8-ounce mason jars work best. You’ll need about 6–8 depending on size. Wash and dry thoroughly.
- Make the Crust: In a bowl, combine 1 cup graham cracker crumbs with 2 tablespoons granulated sugar and 5 tablespoons melted unsalted butter. Mix until the crumbs are evenly moistened and resemble wet sand.
- Layer the Crust: Spoon about 1–2 tablespoons of the crumb mixture into each jar. Use the back of a spoon or a small tamper to press it down firmly into an even layer. Set aside.
- Beat the Cream Cheese: In a large mixing bowl, beat 16 oz (2 packages) of softened cream cheese with an electric mixer on medium speed until smooth and creamy, about 2 minutes.
- Add Sweetness and Flavor: Add 1/3 cup granulated sugar and 1 teaspoon pure vanilla extract. Beat again until fully combined and fluffy.
- Whip the Cream: In a separate bowl, whip 1 cup of cold heavy whipping cream until soft peaks form. Be careful not to over-whip.
- Combine Mixtures: Gently fold the whipped cream into the cream cheese mixture using a spatula. Fold slowly to maintain airiness.
- Add the Funfetti: Stir in 1/3 cup of rainbow sprinkles until evenly distributed. Don’t overmix to prevent color bleeding.
- Fill the Jars: Carefully spoon the cheesecake filling over the crust layer in each jar, leaving about 1/2 inch at the top. Smooth the tops with a spoon or offset spatula.
- Chill: Seal the jars with lids and refrigerate for at least 4 hours, preferably overnight, to allow the filling to set properly.
- Final Touches: Before serving, top each jar with a dollop of whipped cream and a generous sprinkle of extra rainbow jimmies for a festive flair.
- Serve: Enjoy straight from the jar with small spoons. Store leftovers in the refrigerator for up to 5 days.
Tips for Perfect Mini Funfetti Cheesecakes
- Use Room-Temperature Cream Cheese: Cold cream cheese will result in lumps. Let it sit out for at least 30–60 minutes before beating.
- Don’t Skip Chilling Time: Rushing this step leads to a soft, unstable filling. Overnight chilling yields the best texture.
- Choose Non-Bleeding Sprinkles: Some sprinkles dissolve or bleed color when mixed. Opt for “baking-friendly” or “non-pareil” types that hold their shape.
- Layer Evenly: Use a small ice cream scoop or piping bag to portion the filling uniformly across jars.
- Avoid Overmixing: Once you add the whipped cream and sprinkles, fold gently to keep the mixture airy and light.
- Seal Jars Tightly: If transporting, ensure lids are secure to prevent spills. You can also wrap the rims with decorative tape or fabric for a gift-like touch.
- Customize Presentation: Tie ribbons, attach labels, or use chalkboard stickers on the jars for themed events.
- Prevent Weeping: If water droplets appear on the surface after chilling, it may be due to temperature changes. Wipe gently before serving.
Variations and Customizations
These mini cheesecakes are incredibly versatile. Try these creative twists to match any occasion:
- Seasonal Themes: Use red and green sprinkles for Christmas, pastels for Easter, or orange/black for Halloween.
- Flavor Swaps: Replace vanilla with almond, lemon zest, or even coconut extract for a tropical twist.
- Different Crusts: Swap graham crackers for chocolate cookies, Oreo crumbs, shortbread, or even ginger snaps for a spiced version.
- Fruity Layers: Add a layer of strawberry jam, blueberry compote, or mango purée beneath the filling.
- Chocolate Drizzle: Melt white or milk chocolate and drizzle over the top before adding whipped cream.
- Gluten-Free Option: Use gluten-free graham crackers and certified GF sprinkles.
- Vegan Version: Substitute cream cheese with vegan alternatives (like cashew or coconut-based), use plant-based whipped cream, and dairy-free butter.
- Kid-Friendly Faces: Stick mini marshmallows or candy eyes on top for silly monster cheesecakes.
- Boozy Twist (for adults): Add a tablespoon of Baileys, Kahlua, or Grand Marnier to the filling for an elegant adult dessert.
- Protein Boost: Mix in a scoop of vanilla protein powder (adjust liquid if needed) for a more filling treat.
Health Considerations and Nutritional Value
While undeniably delicious, it’s important to enjoy these mini cheesecakes in moderation. Here’s a general nutritional breakdown per serving (one 8-oz jar):
- Calories: ~350–400
- Total Fat: 25–30g (mostly from cream cheese and butter)
- Saturated Fat: 15g
- Carbohydrates: 30–35g (including 20g sugar)
- Protein: 5–6g
- Calcium: Moderate source due to dairy content
- Sodium: ~250mg
Considerations:
- High in Saturated Fat and Sugar: Best enjoyed occasionally, especially for those managing heart health or diabetes.
- Lactose Intolerance: Contains dairy; lactose-sensitive individuals may opt for lactose-free cream cheese and milk alternatives.
- Allergens: Contains dairy and wheat (unless substitutions are made). Always check sprinkle ingredients for potential allergens.
- Balancing the Treat: Serve with fresh fruit on the side to add fiber and vitamins. Pairing with berries enhances flavor and nutrition.
- Portion Control: The jar format naturally limits portion size, making it easier to manage intake compared to a full cheesecake slice.
Ingredients
- 1 cup graham cracker crumbs (about 8 full crackers)
- 2 tbsp granulated sugar
- 5 tbsp unsalted butter, melted
- 16 oz (2 packages) cream cheese, softened
- 1/3 cup granulated sugar
- 1 tsp pure vanilla extract
- 1 cup heavy whipping cream, cold
- 1/3 cup rainbow sprinkles (non-bleeding type)
- Optional: whipped cream or whipped topping, for garnish
- Extra sprinkles, for topping
- 6–8 small glass jars (4–8 oz capacity)
Directions
- In a bowl, mix graham cracker crumbs, 2 tbsp sugar, and melted butter until well combined.
- Divide the mixture among jars (about 1–2 tbsp each). Press firmly with the back of a spoon to form a compact crust.
- In a large bowl, beat softened cream cheese on medium speed until smooth (~2 minutes).
- Add 1/3 cup sugar and vanilla extract; beat until fluffy and no lumps remain.
- In a separate bowl, whip cold heavy cream until soft peaks form.
- Fold the whipped cream into the cream cheese mixture in two additions, gently stirring to keep volume.
- Stir in 1/3 cup sprinkles until evenly dispersed.
- Spoon the filling into the jars over the crust, filling to just below the rim.
- Smooth the tops, seal jars with lids, and refrigerate for at least 4 hours or overnight.
- Before serving, top with whipped cream and a sprinkle of extra jimmies.
- Serve chilled and enjoy with small spoons!
FAQ
Can I make these ahead of time?
Yes! These cheesecakes can be made 2–3 days in advance. Keep them refrigerated and add whipped cream and final sprinkles just before serving.
Can I freeze them?
Yes, but with caution. Freeze without whipped cream topping. Thaw in the refrigerator for 4–6 hours before serving. Texture may be slightly softer.
Why is my filling watery?
Possibly due to cold cream cheese, under-draining of ingredients, or insufficient chilling. Always use room-temperature cream cheese and chill for at least 4 hours.
Can I use whipped topping instead of heavy cream?
Absolutely! Substitute 1 cup of thawed frozen whipped topping (like Cool Whip) for the whipped cream. This simplifies the process and still yields great results.
How long do they last in the fridge?
Up to 5 days when stored in sealed jars.
Can I make them without sugar?
You can use a sugar substitute like erythritol or stevia in both the crust and filling, but the texture may vary slightly.
Are they kid-friendly?
Definitely! Kids love the colors, taste, and fun presentation. They’re perfect for lunchboxes (keep cold with ice packs) or classroom treats.
What size jars should I use?
4-oz jars make bite-sized portions ideal for parties. 8-oz jars are better for full servings. Half-pint mason jars are standard and widely available.
Summary
Mini Funfetti Cheesecakes in a Jar are a cheerful, no-bake dessert that combines creamy cheesecake, a buttery graham cracker crust, and vibrant rainbow sprinkles—all layered in adorable portable jars.
Perfect for celebrations or everyday treats, they’re easy to customize, fun to make with kids, and guaranteed to bring smiles with every spoonful.