Gooey Molten Lava Brownies: A Decadent Delight for Chocolate Lovers
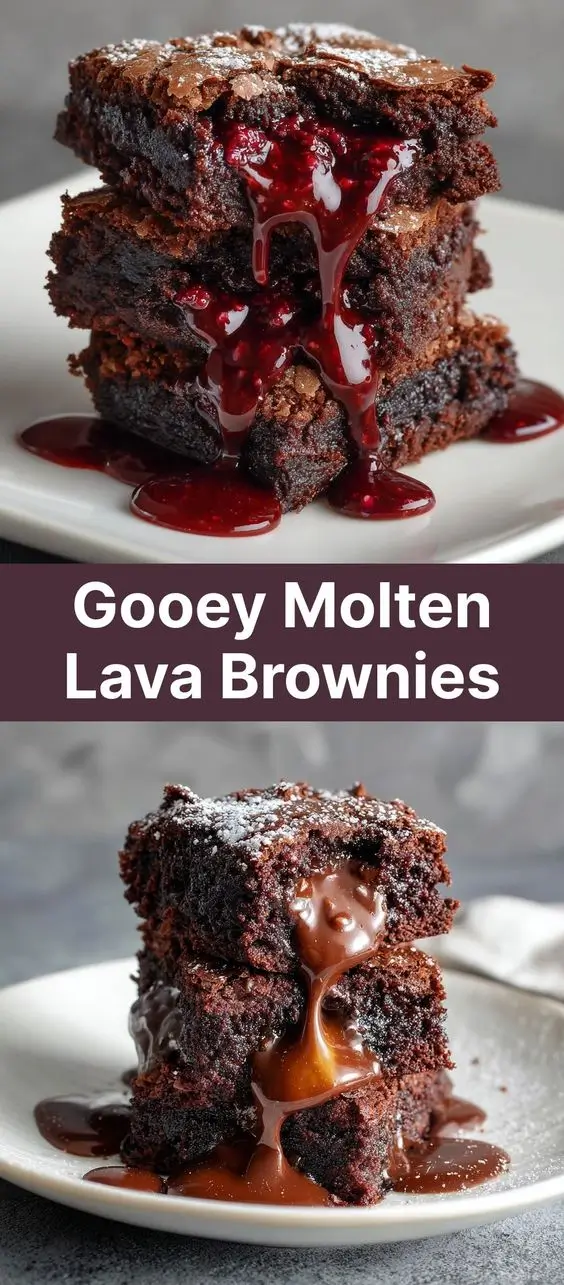
There’s something undeniably magical about biting into a warm, fudgy brownie only to discover a rich, molten chocolate center that oozes out with every bite. Gooey Molten Lava Brownies are the perfect fusion of a classic brownie and a lava cake—offering the best of both worlds in one irresistible dessert. Whether you’re preparing for a dinner party, craving a midnight treat, or simply want to indulge your sweet tooth, these brownies deliver an explosion of chocolatey goodness that’s hard to resist.
The History Behind the Indulgence
The concept of molten lava desserts traces back to the late 20th century, with French chef Jean-Georges Vongerichten often credited for accidentally creating the first chocolate lava cake in the 1980s. Legend has it that he pulled his chocolate sponge cakes from the oven too early, only to find a soft, liquid center that became an instant sensation. This revelation sparked a global love affair with underbaked, gooey chocolate desserts.
Brownies, on the other hand, have roots in American cuisine dating back to the late 1800s. First mentioned in a cookbook by Fannie Farmer in 1896, brownies were originally dense, fudgy treats made with melted chocolate, butter, sugar, eggs, and flour. Over time, bakers experimented with textures—fudgy versus cakey—and ingredients like nuts, vanilla, and espresso powder.
Gooey Molten Lava Brownies are a modern twist that combines the deep, moist crumb of a traditional brownie with the surprise center of a lava cake. By carefully controlling baking time and ingredient ratios, home bakers can now recreate this restaurant-style dessert in their own kitchens, transforming a simple treat into a show-stopping masterpiece.
Ingredients Breakdown: What Makes These Brownies So Irresistible?
The magic of Gooey Molten Lava Brownies lies not just in technique but in the quality and balance of ingredients. Each component plays a crucial role in achieving that perfect texture—cracked top, firm edges, and a molten core.
- Dark Chocolate (70% cacao): The star of the show. High-quality dark chocolate provides depth of flavor, richness, and the essential melt-in-the-center consistency. Opt for couverture or baking chocolate bars rather than chips for superior melting properties.
- Unsalted Butter: Adds moisture, richness, and helps create that glossy, shiny batter. Using unsalted allows better control over salt levels.
- Granulated Sugar: Sweetens without adding moisture, contributing to the crackly crust on top. Some recipes use a mix of granulated and brown sugar for added complexity.
- Eggs: Provide structure and help emulsify the batter. The proteins set during baking, forming the outer shell while leaving the center fluid.
- Vanilla Extract: Enhances overall flavor and adds warmth. Pure extract is preferred over imitation for its richer aroma.
- Cocoa Powder (Dutch-process recommended): Intensifies chocolate flavor and contributes to the deep brown color. Dutch-process is less acidic and blends smoothly.
- All-Purpose Flour: Used sparingly to provide minimal structure—just enough to hold the brownie together without making it cakey.
- Salt: Balances sweetness and enhances chocolate notes. A pinch of flaky sea salt on top before baking elevates the entire experience.
- Optional Add-ins: Chopped nuts (walnuts, pecans), chocolate chunks, espresso powder (to intensify chocolate flavor), or a splash of liqueur like Kahlúa or Grand Marnier for adult indulgence.
Step-by-Step Recipe: How to Make Perfect Gooey Molten Lava Brownies
Ingredients (Makes 9–12 brownies)
- 8 oz (225g) high-quality dark chocolate (70%), finely chopped
- ½ cup (115g) unsalted butter, cubed
- ¾ cup (150g) granulated sugar
- ⅓ cup (65g) packed light brown sugar
- 3 large eggs, at room temperature
- 1 tsp pure vanilla extract
- ¼ cup (20g) Dutch-process cocoa powder, sifted
- ¼ cup (30g) all-purpose flour, sifted
- ½ tsp fine sea salt
- ½ cup (75g) semi-sweet chocolate chunks or chunks of additional dark chocolate
- Optional: ½ cup chopped walnuts or pecans
- Flaky sea salt (for finishing)
Directions
- Preheat & Prepare: Preheat your oven to 350°F (175°C). Line an 8×8-inch square baking pan with parchment paper, leaving overhang on two sides for easy removal. Lightly grease the parchment if needed.
- Melt Chocolate & Butter: In a heatproof bowl set over a simmering pot of water (double boiler method), melt the dark chocolate and butter together, stirring frequently until smooth. Remove from heat and let cool slightly.
- Whisk in Sugars: Gradually whisk in granulated and brown sugars until fully incorporated and the mixture begins to thicken slightly—about 2 minutes. The mixture should look glossy and well-blended.
- Add Eggs One at a Time: Whisk in each egg individually, ensuring it’s fully incorporated before adding the next. Then stir in the vanilla extract. The batter will become thick, fluffy, and pale in color—this step is key for texture.
- Incorporate Dry Ingredients: Sift in the cocoa powder, flour, and salt. Fold gently using a spatula until no streaks remain. Do not overmix—this prevents gluten development and keeps the brownies fudgy.
- Stir in Chocolate Chunks & Nuts: Fold in the chocolate chunks and nuts (if using). The extra chocolate ensures multiple molten pockets throughout the brownies.
- Pour & Smooth: Pour the batter into the prepared pan and spread evenly with the spatula. Tap the pan gently on the counter to remove air bubbles. Sprinkle a few extra chocolate chunks on top for visual appeal.
- Bake with Precision: Bake for 24–28 minutes. This is critical: the edges should be set and slightly cracked, the top shiny and firm to the touch, but the center still visibly jiggly when gently shaken. A toothpick inserted near the edge should come out with moist crumbs—but clean from the center? That means they’re overbaked.
- Cool Slightly: Allow the brownies to cool in the pan for at least 20–25 minutes. They continue to cook from residual heat, so cooling helps preserve the molten center.
- Serve Warm: Use the parchment overhang to lift the brownies out. Cut into squares while still warm. For maximum drama, serve directly in the pan or plate individually with a dusting of powdered sugar, flaky sea salt, or a scoop of vanilla ice cream.
Pro Tips for Success
- Use Room Temperature Eggs: Cold eggs can cause the melted chocolate to seize. Room temperature eggs also incorporate more easily, leading to a smoother, airier batter.
- Don’t Overbake: This is the #1 rule. Set a timer and check at 24 minutes. The center should wobble slightly—it firms up as it cools but stays gooey inside.
- Quality Chocolate Matters: Avoid chocolate with stabilizers or vegetable oils. Real chocolate with cocoa butter melts smoothly and delivers authentic flavor.
- Sifting Is Essential: Sifting cocoa and flour prevents lumps and ensures even distribution, which is vital in such a rich, dense batter.
- Double Boiler Caution: Ensure the bowl doesn’t touch the simmering water, or the chocolate may scorch. Stir constantly for even melting.
- Let Them Rest: Cutting too soon can cause the centers to collapse or leak out too fast. Letting them sit 20+ minutes sets the structure just enough for clean slicing while preserving gooeyness.
- Storage Tip: These brownies are best eaten fresh. However, leftovers can be stored in an airtight container at room temperature for up to 2 days. Reheat gently in the microwave (10–15 seconds) to restore the molten effect.
Variations and Customizations
While classic Gooey Molten Lava Brownies are divine on their own, feel free to get creative! Here are some inspired variations:
- White Chocolate Raspberry: Replace half the dark chocolate with white chocolate and fold in ½ cup fresh raspberries. The tartness cuts through the sweetness beautifully.
- Peanut Butter Swirl: Drop spoonfuls of creamy peanut butter onto the batter before baking and use a knife to swirl. Adds a salty-sweet contrast and marbled effect.
- Spiced Mocha Brownies: Add 1 tbsp instant espresso powder and ½ tsp cinnamon to the dry ingredients. The coffee enhances chocolate flavor without making it taste like coffee.
- Gluten-Free Option: Substitute the all-purpose flour with a 1:1 gluten-free baking blend. Ensure it contains xanthan gum for proper binding.
- Vegan Version: Use dairy-free chocolate and replace butter with coconut oil. Swap eggs with flax eggs (3 tbsp ground flaxseed + 9 tbsp water, let sit 10 mins), though note the texture will be denser and less molten.
- Liqueur Infusion: Add 1–2 tbsp of Baileys, Amaretto, or orange liqueur with the vanilla. Alcohol evaporates slightly during baking but leaves behind aromatic complexity.
- Mini Mason Jar Lava Brownies: Divide the batter into greased ramekins or small mason jars and bake for 18–22 minutes. Perfect for individual servings and ideal for dinner parties.
- Salted Caramel Core: Place a spoonful of thick caramel sauce in the center of each portion before baking. Creates a double-layered lava effect—chocolate and caramel!
Health Considerations and Nutritional Value
There’s no denying that Gooey Molten Lava Brownies are a rich, calorie-dense dessert. However, understanding their nutritional profile can help you enjoy them mindfully.
Nutritional Breakdown (Per Serving, based on 12 brownies)
- Calories: ~280–320
- Total Fat: 18–20g (mostly from butter and chocolate; includes saturated fat)
- Carbohydrates: 30–35g (primarily from sugar and flour)
- Sugars: 22–25g
- Protein: 3–4g (from eggs and chocolate)
- Fiber: 2g (thanks to cocoa and dark chocolate)
- Cholesterol: ~50mg
- Sodium: ~80–100mg
Health Notes:
- Dark Chocolate Benefits: When made with high-cocoa chocolate, these brownies contain antioxidants like flavonoids, which may support heart health in moderation.
- Portion Control: Serve smaller squares (e.g., cut into 16 pieces) and pair with berries or Greek yogurt to balance the meal.
- Sugar Awareness: These are high in added sugars. Consider reducing sugar slightly (by 1–2 tbsp) or using coconut sugar for a lower glycemic index alternative.
- Dietary Modifications: While not low-fat or low-calorie, gluten-free and vegan versions can accommodate certain dietary needs. Always check labels on chocolate and substitutes.
- Enjoy as Occasional Treat: Best reserved for special occasions or mindful indulgences—not an everyday snack, but absolutely worth it when savored.
Frequently Asked Questions (FAQ)
Why didn’t my brownies have a molten center?
This usually happens due to overbaking or using too much flour. Ensure precise timing and measure ingredients with a kitchen scale if possible. Also, avoid opening the oven door during baking, as temperature fluctuations affect consistency.
Can I make these ahead of time?
You can prepare the batter up to a day in advance and refrigerate it in the pan, covered. Bring to room temperature before baking. Fully baked brownies can be reheated, but the molten effect is best when freshly baked.
Can I freeze Gooey Molten Lava Brownies?
Yes, but with caveats. Freeze cooled brownies in an airtight container for up to 1 month. Thaw in the fridge, then reheat in a 325°F oven for 8–10 minutes or microwave briefly. Texture may be slightly less molten but still delicious.
What kind of pan should I use?
An 8×8-inch metal baking pan works best for even heat distribution. Glass or ceramic pans retain heat longer and may lead to overcooking—reduce oven temperature by 25°F if using.
Can I double the recipe?
Yes, but use a 9×13-inch pan and increase baking time to 30–35 minutes. Note that the molten center may not be as pronounced in larger batches—consider using individual ramekins instead for consistent results.
Is there a way to make them healthier?
You can reduce sugar by 25%, use applesauce to replace half the butter (though this reduces richness), or add black beans for fiber (but expect a different texture). For protein boost, sprinkle chopped almonds or use protein-enriched cocoa nibs.
Why do my brownies sink in the middle?
Some sinking is normal due to the underbaked center. However, excessive collapse could mean too many eggs, overmixing, or inaccurate oven temperature. Calibrate your oven thermometer and follow the recipe closely.
Summary
Gooey Molten Lava Brownies are the ultimate chocolate indulgence—fudgy, warm, and filled with a luxurious, flowing center that turns every bite into a decadent experience. Perfectly balanced between cake and custard, these brownies bring restaurant-quality dessert magic straight to your kitchen.