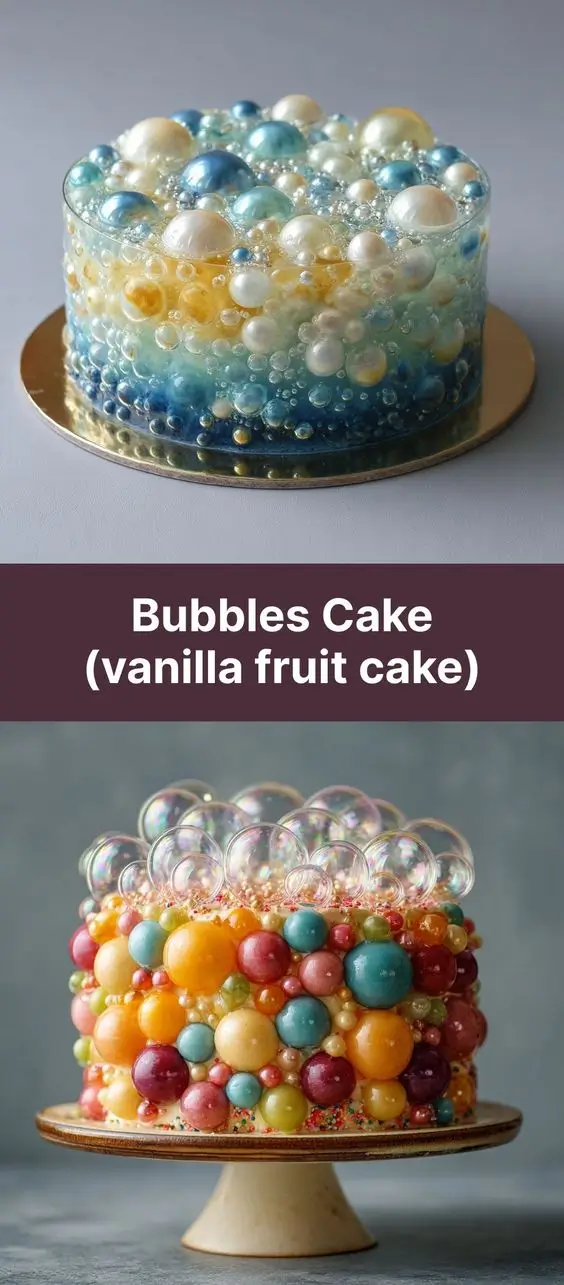
Bubbles Cake (Vanilla Fruit Cake): A Fluffy, Fruity Delight
Introduction
The Bubbles Cake, affectionately known as the Vanilla Fruit Cake, is a whimsical and delightful dessert that combines the light, airy texture of a classic vanilla sponge with the natural sweetness and vibrant colors of fresh fruits. This cake earns its name not from actual bubbles, but from its buoyant crumb and the effervescent joy it brings to any occasion—be it birthdays, afternoon tea, or festive gatherings. Unlike traditional fruitcakes soaked in alcohol, the Bubbles Cake embraces a modern, family-friendly approach by using juicy fruits, gentle vanilla essence, and a fluffy batter that rises like a dream. It’s a celebration of simplicity, freshness, and flavor—an ideal centerpiece for those who appreciate desserts that are both visually stunning and deliciously satisfying.
The History
The origins of the Bubbles Cake are somewhat elusive, blending elements of European sponge cakes, American fruit-topped desserts, and contemporary baking innovations. While there’s no definitive record pinpointing its first creation, culinary historians suggest that cakes combining vanilla sponge with fresh fruit toppings gained popularity in the mid-20th century, particularly in North America and Western Europe. The concept was inspired by classic desserts like the English Victoria Sponge and the French fraisier, yet adapted to suit evolving tastes—lighter, less sweet, and more focused on natural ingredients.
The term “Bubbles Cake” likely emerged in the 2000s within home-baking communities and social media circles, where bakers began experimenting with ultra-light batters and creative fruit arrangements. The name evokes the cake’s signature softness—a texture so delicate it seems to dissolve like a bubble on the tongue. Over time, the recipe evolved into what we now know as the Vanilla Fruit Bubbles Cake: a harmonious blend of pillowy cake layers, creamy fillings, and radiant seasonal fruits. Today, it stands as a symbol of joyful, artistic baking—accessible to novices yet cherished by connoisseurs.
Ingredients Breakdown
Creating the perfect Bubbles Cake begins with understanding each ingredient’s role in achieving balance between structure, moisture, flavor, and appearance. Here’s an in-depth look at what goes into this delectable dessert:
- All-Purpose Flour: Provides the foundational structure. Sifted to ensure a fine texture, it contributes to the cake’s tender crumb without making it dense.
- Granulated Sugar: Sweetens the batter while aiding in aeration during creaming. It also promotes browning and helps retain moisture.
- Unsalted Butter (softened): Adds richness and flavor. When creamed with sugar, it traps air, contributing significantly to the cake’s rise and fluffiness.
- Eggs (room temperature): Act as a binder and leavening agent. They add volume and stability, ensuring the cake holds together while remaining light.
- Vanilla Extract (pure): The heart of the flavor profile. High-quality vanilla lends warmth and depth, enhancing every bite without overpowering.
- Baking Powder: A chemical leavener that produces carbon dioxide when heated, helping the cake puff up beautifully in the oven.
- Salt: A small amount enhances all other flavors, balancing sweetness and bringing out the nuances in butter and vanilla.
- Whole Milk (or buttermilk): Adds moisture and tenderness. Buttermilk can be used for a slightly tangy note and improved texture.
- Fresh Fruits: Typically includes strawberries, kiwis, blueberries, raspberries, peaches, and bananas. These provide color, freshness, natural sweetness, and visual appeal.
- Whipped Cream or Whipped Topping: Used for filling and frosting. Light and airy, it complements the cake without weighing it down.
- Lemon Juice (optional): A splash prevents browning of cut fruits and adds a subtle zing.
- Confectioners’ Sugar (for dusting): Adds a finishing touch of elegance and slight sweetness.
- Gelatin or Clear Glaze (optional): Applied lightly over fruits to preserve shine and prevent drying.
Step-by-Step Recipe
Follow these detailed steps to create a stunning Bubbles Cake that’s as beautiful as it is delicious.
- Preheat and Prepare: Preheat your oven to 350°F (175°C). Grease two 8-inch round cake pans with butter, line the bottoms with parchment paper, and lightly flour the sides to prevent sticking.
- Cream Butter and Sugar: In a large mixing bowl, beat 1 cup (2 sticks) of softened unsalted butter with 1¾ cups granulated sugar using an electric mixer on medium-high speed until pale, fluffy, and well-aerated—about 4–5 minutes.
- Add Eggs One at a Time: Add 4 large room-temperature eggs, one at a time, beating well after each addition. Scrape down the sides of the bowl as needed to ensure even mixing.
- Incorporate Vanilla: Mix in 2 teaspoons of pure vanilla extract until fully combined. The batter should be rich and aromatic.
- Sift Dry Ingredients: In a separate bowl, whisk together 2¼ cups sifted all-purpose flour, 2½ teaspoons baking powder, and ½ teaspoon salt. Sifting ensures no lumps and a lighter texture.
- Alternate Wet and Dry Ingredients: Gradually add the dry mixture to the butter mixture in three parts, alternating with 1 cup of milk in two parts. Begin and end with the dry ingredients. Mix on low speed just until incorporated—do not overmix.
- Divide and Pour: Divide the batter evenly between the prepared pans. Smooth the tops with a spatula for even rising.
- Bake: Place pans in the center of the preheated oven. Bake for 25–30 minutes, or until a toothpick inserted into the center comes out clean and the tops spring back when lightly pressed.
- Cool Completely: Let the cakes cool in their pans for 10 minutes, then turn them out onto wire racks. Remove parchment paper and allow them to cool completely before assembling—this prevents melting of fillings.
- Prepare the Filling: Whip 2 cups of heavy cream with ¼ cup powdered sugar and 1 teaspoon vanilla extract until stiff peaks form. Refrigerate until ready to use.
- Wash and Slice Fruits: Wash strawberries, kiwis, peaches, and bananas. Hull and slice strawberries; peel and slice kiwi and peaches; slice bananas. Toss gently with a little lemon juice to prevent oxidation.
- Assemble the Cake: Place one cake layer on a serving plate or cake stand. Spread half of the whipped cream over the top in an even layer. Arrange sliced fruits in concentric circles or a decorative pattern. Place the second cake layer gently on top.
- Frost the Top and Sides: Spread the remaining whipped cream over the top and around the sides. Use a spatula or palette knife for a smooth or rustic finish.
- Decorate with More Fruits: Artfully arrange remaining fruits on top—try a spiral of strawberries, clusters of blueberries, or alternating kiwi and raspberry patterns.
- Optional Glaze: Dissolve 1 teaspoon unflavored gelatin in 2 tablespoons warm water, then brush lightly over exposed fruits to give them a glossy, preserved look.
- Chill Before Serving: Refrigerate the cake for at least 1 hour to set the cream and enhance flavors. Dust lightly with confectioners’ sugar just before serving.
Tips
- Room Temperature Ingredients: Ensure butter, eggs, and milk are at room temperature to achieve maximum volume and smooth incorporation.
- Don’t Overmix: Once flour is added, mix only until combined. Overmixing develops gluten, leading to a tough cake.
- Use Fresh, Ripe Fruits: Choose fruits that are ripe but firm—overripe fruits can make the cake soggy.
- Level the Layers: If your cakes dome during baking, level them with a serrated knife for a flat, stable stack.
- Chill the Bowl: When whipping cream, chill the mixing bowl and beaters in the freezer for 10–15 minutes beforehand for faster, stiffer results.
- Work Quickly in Warm Weather: Whipped cream melts easily. Keep components refrigerated until assembly, and serve promptly.
- Customize Colors: Plan fruit arrangements by color for a rainbow effect—great for children’s parties or celebrations.
- Use a Cake Turntable: For professional-looking frosting and decoration, rotate the cake as you spread and garnish.
Variations and Customizations
The beauty of the Bubbles Cake lies in its versatility. Here are several ways to personalize it:
- Gluten-Free Version: Substitute all-purpose flour with a high-quality gluten-free flour blend containing xanthan gum for binding.
- Dairy-Free Option: Replace butter with vegan margarine and milk with almond or oat milk. Use coconut whipped cream instead of dairy cream.
- Eggless Bubbles Cake: Use flax eggs (1 tbsp ground flaxseed + 3 tbsp water per egg) or commercial egg replacers designed for cakes.
- Flavor Twists: Infuse the batter with almond extract, citrus zest (lemon or orange), or a touch of cinnamon for complexity.
- Filling Variations: Swap whipped cream for mascarpone cheese, custard, or lemon curd for a richer taste.
- Chocolate Swirl: Add a swirl of melted chocolate into the batter or use cocoa-dusted strawberries for a hint of indulgence.
- Layered Parfait Style: Skip baking and make a no-bake trifle version by layering sponge cubes, fruits, and cream in a glass dish.
- Mini Bubbles Cakes: Bake in muffin tins for individual servings—perfect for parties or portion control.
- Tropical Bubbles Cake: Use mango, pineapple, passionfruit, and coconut flakes for a tropical twist.
- Holiday Edition: Decorate with seasonal fruits—cranberries and pomegranate in winter, cherries and apricots in summer.
Health Considerations and Nutritional Value
While the Bubbles Cake is a treat best enjoyed in moderation, mindful adjustments can make it more nutritious:
- Natural Sugars: Relying on the inherent sweetness of ripe fruits allows for reduced added sugar in both cake and filling.
- Fruit Benefits: Berries are rich in antioxidants and vitamin C; bananas offer potassium; kiwis contain digestive enzymes and fiber.
- Lower-Fat Options: Use reduced-fat milk and light whipped topping if desired, though this may affect texture and richness.
- Portion Control: Serve smaller slices with extra fruit on the side to balance indulgence with nutrition.
- Allergen Awareness: Be cautious with common allergens—eggs, dairy, wheat, and nuts (if used in garnish). Always label accordingly for guests.
- Calorie Estimate: A standard slice (1/12 of cake) contains approximately 280–350 calories, depending on ingredients and size of fruit portions.
- Dietary Adaptations: Diabetics may use sugar substitutes like erythritol or monk fruit in both cake and whipped cream, though results may vary.
Ingredients
- 2¼ cups (280g) all-purpose flour, sifted
- 1¾ cups (350g) granulated sugar
- 1 cup (2 sticks / 226g) unsalted butter, softened
- 4 large eggs, room temperature
- 2 tsp pure vanilla extract
- 2½ tsp baking powder
- ½ tsp salt
- 1 cup (240ml) whole milk, room temperature
- 2 cups heavy whipping cream
- ¼ cup (30g) powdered sugar
- Assorted fresh fruits: strawberries, kiwis, blueberries, raspberries, bananas, peaches
- 1 tbsp lemon juice (optional)
- 1 tsp unflavored gelatin + 2 tbsp water (optional glaze)
- Confectioners’ sugar for dusting
Directions
- Preheat oven to 350°F (175°C). Grease and flour two 8-inch round cake pans; line with parchment paper.
- In a large bowl, cream butter and sugar until light and fluffy (4–5 minutes).
- Add eggs one at a time, beating well after each. Mix in vanilla.
- In another bowl, whisk together flour, baking powder, and salt.
- Gradually add dry ingredients to wet mixture, alternating with milk, beginning and ending with dry. Mix until just combined.
- Pour batter evenly into prepared pans. Smooth tops and bake for 25–30 minutes until golden and a toothpick comes out clean.
- Cool in pans for 10 minutes, then transfer to wire racks to cool completely.
- Meanwhile, whip cream, powdered sugar, and vanilla until stiff peaks form. Chill.
- Prepare fruits: wash, peel (if needed), slice, and toss with lemon juice.
- Place one cake layer on a plate. Spread with half the whipped cream. Arrange a layer of fruits. Top with second cake layer.
- Spread remaining cream over top and sides. Decorate with remaining fruits in desired pattern.
- (Optional) Brush fruits with dissolved gelatin for shine and preservation.
- Refrigerate for 1 hour before serving. Dust with confectioners’ sugar just before slicing.
- Serve chilled. Store leftovers covered in refrigerator for up to 2 days.
FAQ
- Can I make the Bubbles Cake ahead of time?
- Yes, but assemble no more than 6 hours in advance. Add fruits just before serving to prevent sogginess. You can bake the cake layers up to 2 days ahead and store wrapped at room temperature.
- Why did my cake sink in the middle?
- This could be due to underbaking, opening the oven too early, or overmixing the batter. Ensure your oven is fully preheated and avoid sudden temperature changes.
- Can I freeze the Bubbles Cake?
- Freezing is not recommended once assembled with fruits and cream. However, unfrosted cake layers can be frozen for up to 3 months—wrap tightly in plastic and foil.
- What fruits should I avoid?
- Avoid very watery fruits like watermelon or overly acidic ones like raw pineapple (unless cooked), which can break down gelatin and make the cake soggy.
- How do I keep the fruits from turning brown?
- Toss apples, bananas, and peaches in a little lemon juice or store-bought anti-browning solution. Assemble close to serving time.
- Can I use canned fruits?
- Fresh is best, but drained canned peaches or mandarin oranges can work in a pinch. Pat them dry thoroughly before use.
- Is this cake kid-friendly?
- Absolutely! Its mild sweetness, fun colors, and soft texture make it a favorite among children. Let kids help decorate for added fun.
- Can I make it without eggs?
- Yes. Use a commercial egg replacer or substitute each egg with ¼ cup unsweetened applesauce or mashed banana (note: may alter flavor slightly).
Summary
The Bubbles Cake (Vanilla Fruit Cake) is a light, airy dessert featuring a tender vanilla sponge layered with freshly whipped cream and a vibrant array of seasonal fruits. Celebrated for its beauty, simplicity, and crowd-pleasing appeal, it’s perfect for any joyful occasion.