Chocolate Peanut Butter Mug Brownie: The Ultimate Single-Serve Dessert
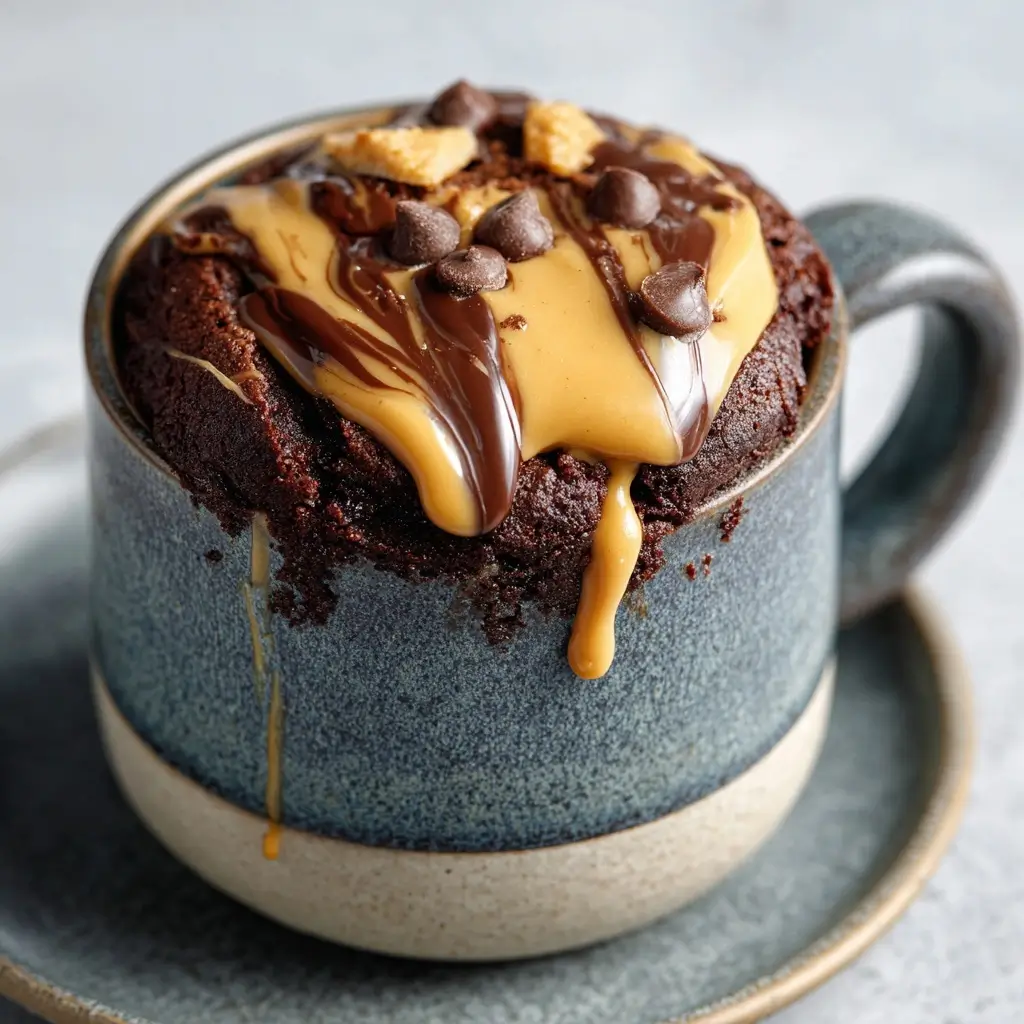
The Chocolate Peanut Butter Mug Brownie is a decadent, quick-fix dessert that combines the rich indulgence of fudgy chocolate brownies with the creamy, nutty goodness of peanut butter—all in a single mug, ready in minutes. Perfect for when you’re craving something sweet but don’t want to bake an entire batch or spend hours in the kitchen. This microwave-friendly treat satisfies your dessert cravings with minimal effort and cleanup.
The History
The concept of mug cakes dates back to the early 2000s, gaining widespread popularity through social media and food blogs as people searched for faster, more convenient ways to enjoy desserts. Originally created as a solution for late-night cravings or small-batch baking, mug cakes became viral sensations due to their simplicity and speed. The Chocolate Peanut Butter Mug Brownie evolved from this trend, combining two universally loved flavors—chocolate and peanut butter—into one gooey, warm, and comforting treat. Inspired by classic American brownies and Southern peanut butter desserts, this version elevates the humble mug cake into a luxurious single-serving indulgence. Today, it’s a staple in dorm rooms, offices, and homes worldwide, beloved by anyone seeking instant gratification without sacrificing flavor.
Ingredients Breakdown
Understanding each ingredient helps you appreciate how they contribute to the texture and taste of your Chocolate Peanut Butter Mug Brownie:
- Flour (All-Purpose): Provides structure. Without it, the brownie would be too dense or crumbly. A small amount ensures a tender crumb while keeping the texture moist.
- Sugar (Granulated): Adds sweetness and aids in creating a slightly crisp top layer when microwaved. It also contributes to moisture retention.
- Cocoa Powder (Unsweetened): The heart of the chocolate flavor. Use high-quality Dutch-processed or natural cocoa for deep, rich notes without bitterness.
- Baking Powder: A leavening agent that gives the brownie a slight rise, though the final product remains dense and fudgy like a traditional brownie.
- Salt: Enhances all the flavors, balancing sweetness and bringing out the richness of chocolate and peanut butter.
- Milk: Adds moisture and helps bind the ingredients together. Any milk works—dairy or plant-based like almond, oat, or soy.
- Vegetable Oil (or Melted Butter): Keeps the brownie moist and tender. Oil creates a smoother texture than butter in microwave recipes due to its liquid state at room temperature.
- Vanilla Extract: Adds depth and warmth to the overall flavor profile, rounding out the sweetness and enhancing aroma.
- Egg (Small or Mini Egg Beater portion): Binds everything together and adds protein for structure. For egg-free versions, substitutes like flax eggs or applesauce can work.
- Peanut Butter (Smooth): Swirled into the batter or layered in the center, it creates pockets of creamy nuttiness that contrast beautifully with the chocolate base.
- Semi-Sweet Chocolate Chips: Optional but highly recommended. They melt during cooking, creating molten chocolate bursts throughout the brownie.
Step-by-Step Recipe
- Gather Your Tools: Choose a large microwave-safe mug or ramekin (at least 12 oz capacity) to prevent overflow. Have all ingredients measured and ready.
- Combine Dry Ingredients: In the mug, whisk together 4 tablespoons all-purpose flour, 3 tablespoons granulated sugar, 2 tablespoons unsweetened cocoa powder, 1/4 teaspoon baking powder, and a pinch of salt until fully blended.
- Add Wet Ingredients: Pour in 3 tablespoons milk, 1.5 tablespoons vegetable oil, 1/4 teaspoon vanilla extract, and 1 tablespoon beaten egg. Stir vigorously with a fork or small whisk until no dry streaks remain. The batter should be thick but smooth.
- Incorporate Peanut Butter: Add 1.5 tablespoons of smooth peanut butter directly into the center of the batter. Do not stir completely—just gently swirl it once or twice with a knife or skewer to create marbled layers.
- Add Chocolate Chips (Optional): Sprinkle 1–2 tablespoons of semi-sweet chocolate chips on top for extra gooeyness.
- Microwave: Place the mug in the microwave and cook on high for 60 to 90 seconds. Start checking at 60 seconds—the brownie is done when the top looks set but still slightly soft in the center. It will continue to cook slightly from residual heat.
- Cool Slightly: Let the mug brownie rest for 1–2 minutes before eating. This allows it to firm up slightly and prevents burns from hot molten centers.
- Serve Warm: Enjoy straight from the mug with a spoon. Optionally top with whipped cream, extra peanut butter drizzle, powdered sugar, or a scoop of vanilla ice cream.
Tips for the Perfect Chocolate Peanut Butter Mug Brownie
- Use a Large Mug: Always use a mug larger than you think necessary—minimum 12 ounces—to avoid messy overflows during microwaving.
- Don’t Overmix After Adding Peanut Butter: Swirling, not stirring, preserves the marbled effect and prevents the peanut butter from making the batter greasy.
- Adjust Cooking Time: Microwaves vary in power. If your brownie seems undercooked, add 10-second increments. If overcooked, reduce time next round. The ideal texture is moist and fudgy, not cakey or dry.
- Let It Rest: Allowing the brownie to sit for 1–2 minutes after microwaving improves texture and makes it safer to eat immediately.
- Enhance Flavor: Use dark cocoa powder for a more intense chocolate taste, or add a dash of espresso powder to deepen the chocolate notes.
- Double Duty Mug: Clean-up is easy—rinse the mug right after eating while it’s still warm to prevent sticking.
- For Extra Gooey Center: Place a dollop of peanut butter in the very center before microwaving, then cover lightly with batter. This creates a molten peanut butter core.
Variations and Customizations
This recipe is incredibly versatile. Here are some creative twists to try:
- Nut-Free Version: Replace peanut butter with sunflower seed butter or soy nut butter for those with allergies.
- Gluten-Free: Substitute all-purpose flour with a 1:1 gluten-free baking blend (ensure it contains xanthan gum).
- Vegan Option: Skip the egg (use 1 tbsp ground flaxseed mixed with 3 tbsp water), choose plant-based milk, and ensure chocolate chips are dairy-free.
- Protein Boost: Add 1 scoop of chocolate or vanilla protein powder and increase liquid slightly (add 1–2 tsp extra milk).
- Cookie Dough Style: Omit cocoa powder and double the peanut butter for a chocolate chip-studded peanut butter cookie dough mug.
- White Chocolate Drizzle: After cooking, drizzle melted white chocolate on top for visual appeal and flavor contrast.
- Salted Caramel Twist: Swirl in salted caramel sauce along with the peanut butter for a sweet-and-salty explosion.
- Spiced Version: Add a pinch of cinnamon or cayenne pepper for a warm, spicy kick that complements both chocolate and peanut butter.
- Crunchy Texture: Mix in crushed peanuts, pretzel pieces, or granola before microwaving for added crunch.
- Dessert Mash-Up: Top with crushed Oreos, banana slices, or marshmallows for s’mores-style flair.
Health Considerations and Nutritional Value
While undeniably indulgent, the Chocolate Peanut Butter Mug Brownie can be adapted for various dietary needs and enjoyed in moderation as part of a balanced lifestyle.
Nutrition Estimate (Standard Recipe – Approximate):
- Calories: ~380–420 kcal
- Fat: ~18–22g (mostly healthy fats from peanut butter and oil)
- Saturated Fat: ~5–7g
- Carbohydrates: ~50–55g
- Sugars: ~30–35g (can be reduced using alternatives)
- Protein: ~8–10g (enhanced with peanut butter and egg)
- Fiber: ~3–4g (can increase with whole grain or almond flour substitutions)
Healthy Modifications:
- Reduce Sugar: Use half the sugar or substitute with coconut sugar, maple syrup (adjust liquid), or monk fruit sweetener.
- Lower Fat: Replace oil with unsweetened applesauce or mashed banana (note: may alter texture slightly).
- High-Protein Version: Add unflavored collagen or protein powder and use Greek yogurt instead of some milk.
- Heart-Healthy Fats: Use natural peanut butter with no added sugar or hydrogenated oils.
- Balanced Indulgence: Pair with a glass of milk or a side of berries to add nutrients and balance blood sugar spikes.
Despite being calorie-dense, this mug brownie delivers satisfaction in a single serving, reducing the temptation to overeat compared to full-sized desserts. Portion control is built-in!
Ingredients
- 4 tablespoons (24g) all-purpose flour
- 3 tablespoons (38g) granulated sugar
- 2 tablespoons (10g) unsweetened cocoa powder
- ¼ teaspoon baking powder
- A pinch of salt
- 3 tablespoons (45ml) milk (any type)
- 1½ tablespoons (22ml) vegetable oil (or melted butter)
- ¼ teaspoon vanilla extract
- 1 tablespoon (15g) beaten egg (about 1/4 of a large egg)
- 1½ tablespoons (25g) smooth peanut butter (plus extra for topping)
- 1–2 tablespoons semi-sweet chocolate chips (optional)
Directions
- In a large microwave-safe mug (12 oz or bigger), mix the flour, sugar, cocoa powder, baking powder, and salt until well combined.
- Add the milk, oil, vanilla extract, and beaten egg. Stir with a fork or small whisk until smooth and no lumps remain.
- Add the peanut butter to the center of the batter. Using a knife or toothpick, gently swirl it once or twice—do not fully mix.
- Sprinkle chocolate chips on top if desired.
- Microwave on high for 60 to 90 seconds. Begin checking at 60 seconds; the brownie is ready when the top appears set but the center still looks slightly soft.
- Allow to cool for 1–2 minutes. The brownie will continue to cook internally.
- Serve warm with optional toppings such as powdered sugar, whipped cream, ice cream, or a drizzle of melted peanut butter.
FAQ
Can I make this without a microwave?
Yes! Bake in a preheated oven at 350°F (175°C) in a greased 6-ounce ramekin for 12–15 minutes. Check with a toothpick—it should come out with moist crumbs, not wet batter.
Can I prepare this ahead of time?
You can pre-mix the dry ingredients in a jar or container and store them for up to 2 weeks. When ready, just add the wet ingredients and peanut butter, then microwave.
Why did my mug brownie explode or overflow?
This usually happens if the mug is too small or the batter is overmixed. Always use a large mug and avoid filling past the ¾ mark.
Is it safe to eat raw egg in this recipe?
The egg cooks fully during microwaving. However, if concerned, use pasteurized eggs or egg substitute products.
Can I double the recipe?
It’s best made as a single serving. Doubling often leads to uneven cooking. Make two separate mugs instead.
How do I store leftovers?
This brownie is best eaten fresh. Due to its moist, fudgy texture, refrigeration may cause it to become gummy. Reheating is possible but not ideal—texture changes significantly.
My brownie came out dry—what went wrong?
Overcooking is the most common issue. Reduce microwave time by 10–15 seconds. Also, check your microwave’s wattage—higher wattage units require less time.
Can I use crunchy peanut butter?
Absolutely! Crunchy peanut butter adds texture and nutty bits throughout the brownie. Just be aware it may make swirling more difficult.
Summary
The Chocolate Peanut Butter Mug Brownie is a rich, gooey, and satisfying dessert that combines deep chocolate flavor with creamy peanut butter in just 90 seconds. Perfect for solo indulgence, last-minute guests, or a cozy night in.